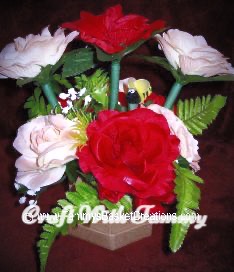
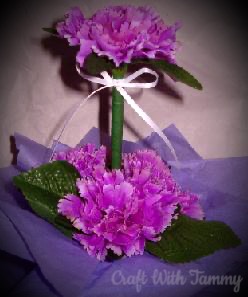
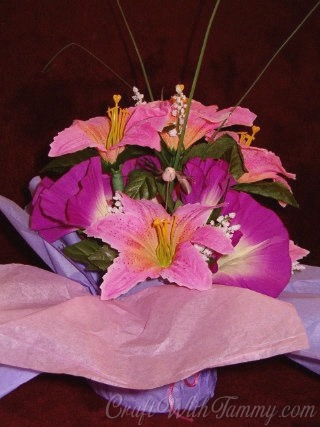
Floral Pen Arrangements
- Tammy

- Sep 16, 2023
- 3 min read
Updated: May 27, 2024
"Does anybody else have a bunch of pens lying around the house that they don’t really like? Or want to make a unique handmade gift for someone that has everything? I personally have one kind of pen that I love (note: they’re not a good choice for this project) – fine point RSVP pens by Pentel. They have been my favorite for over a decade. Yet somehow, for every 1 of my favorite pens, we have about 5 other pens floating around. They come from my husband’s pockets, from the depths of my purse, and from hotels we stayed in. I refuse to throw them away. They work perfectly fine, and I don’t want to fill up the trash with a bunch of perfectly good pens, and then go spend a bunch of money on pens I like better. Because, let’s face it, they’re just pens. But on the other hand, life’s too short to always use a pen you don’t like. So, I’m very excited to fancy these second rate pens up by turning them into flower pens! The best pens to use for your DIY flower pens are the kind with caps, such as BIC. I’m all for getting creative and working with what you already have when possible. If you are purchasing something specifically for this project, a pen with a cap would be your best bet."

Materials :
Flowers
Any type or style flowers will do. You’re going to be cutting the stem down to size so you don’t have to worry much about that. Just make sure they have at least a couple of inches of stem, and that the flower isn’t so big that it will be cumbersome when on the top of a pen you’re using for writing.
Floral Tape
1/2″ wide dark green florist tape but you can use any color you like or works best with your project.
Tools
Wire cutters but you certainly don’t need to go out and buy them if you don’t already have them. A sturdy pair of scissors and a lot of pressure will normally get the job done. Just please watch your fingers.
Hot glue gun You will need a hot glue gun to secure the flower to the pen.
Instructions:
This method centers the flower perfectly on the pen. However, it takes a bit more work (but it’s still really simple). You cannot use a pen with a top clicker for this method.
Pop end cap off the back end of the pen, (this looks like a little thumb tack) I like to use scissors to make a gap between the pen and the end cap and pry it off from there.
Cut the flower stem to 1-2" length. Leave it as long as you can, but it will probably have to be pretty short because it will hit the internal part of the pen that holds the ink.
Use your hot glue gun to run a small bead of glue around the back (open) end of the pen where you removed the end cap and the stem meet.
Wrap the pen with the florist tape. Start from the bottom (or the part closest to the writing tip). It won’t stick to the pen well directly, but instead it sticks to itself. When you stretch it out it sticks better, so be sure to use a bit of tension while you’re wrapping. Make sure each wrap generously overlaps the previous rotation.
Use a small dot of glue at the end of the florist tape to be sure it doesn’t unravel if desired.